The Fujifilm X100VI preset fatigue
Let’s talk about the Fujifilm X100VI i use for documenting my everyday family life and travel moments for quite some time. Acquiring the camera still requires some patience. Retail availability remains sparse because of ongoing supply constraints and a massive surge in demand driven by viral TikTok and Instagram trends.
Once you secure the camera, you face your next problem. The market is saturated with creators selling and promoting custom film simulation recipes. This not only creates the fear of missing out, but also a spiral of wrong choices, the exact problem you wanted to avoid when buying the X100VI. You might commit to a specific preset for a trip, only to review the files later and realize the color grading does not suit the lighting or environment.
The X RAW Studio Solution
The most effective workaround is to shoot RAW+Fine and process the images later using Fujifilm’s X RAW Studio. This defers the color grading decision. You can swap the in-camera film simulation after the fact without losing the native Fujifilm color science.
Unlike standard software converters, X RAW Studio uses the connected camera’s internal processor to render the RAW files. This guarantees the exact Image output you would get straight out of the camera, eliminating decision fatigue in the field. The Processing on the internal hardware is just different, than doing it inside Lightroom or other RAW development software.
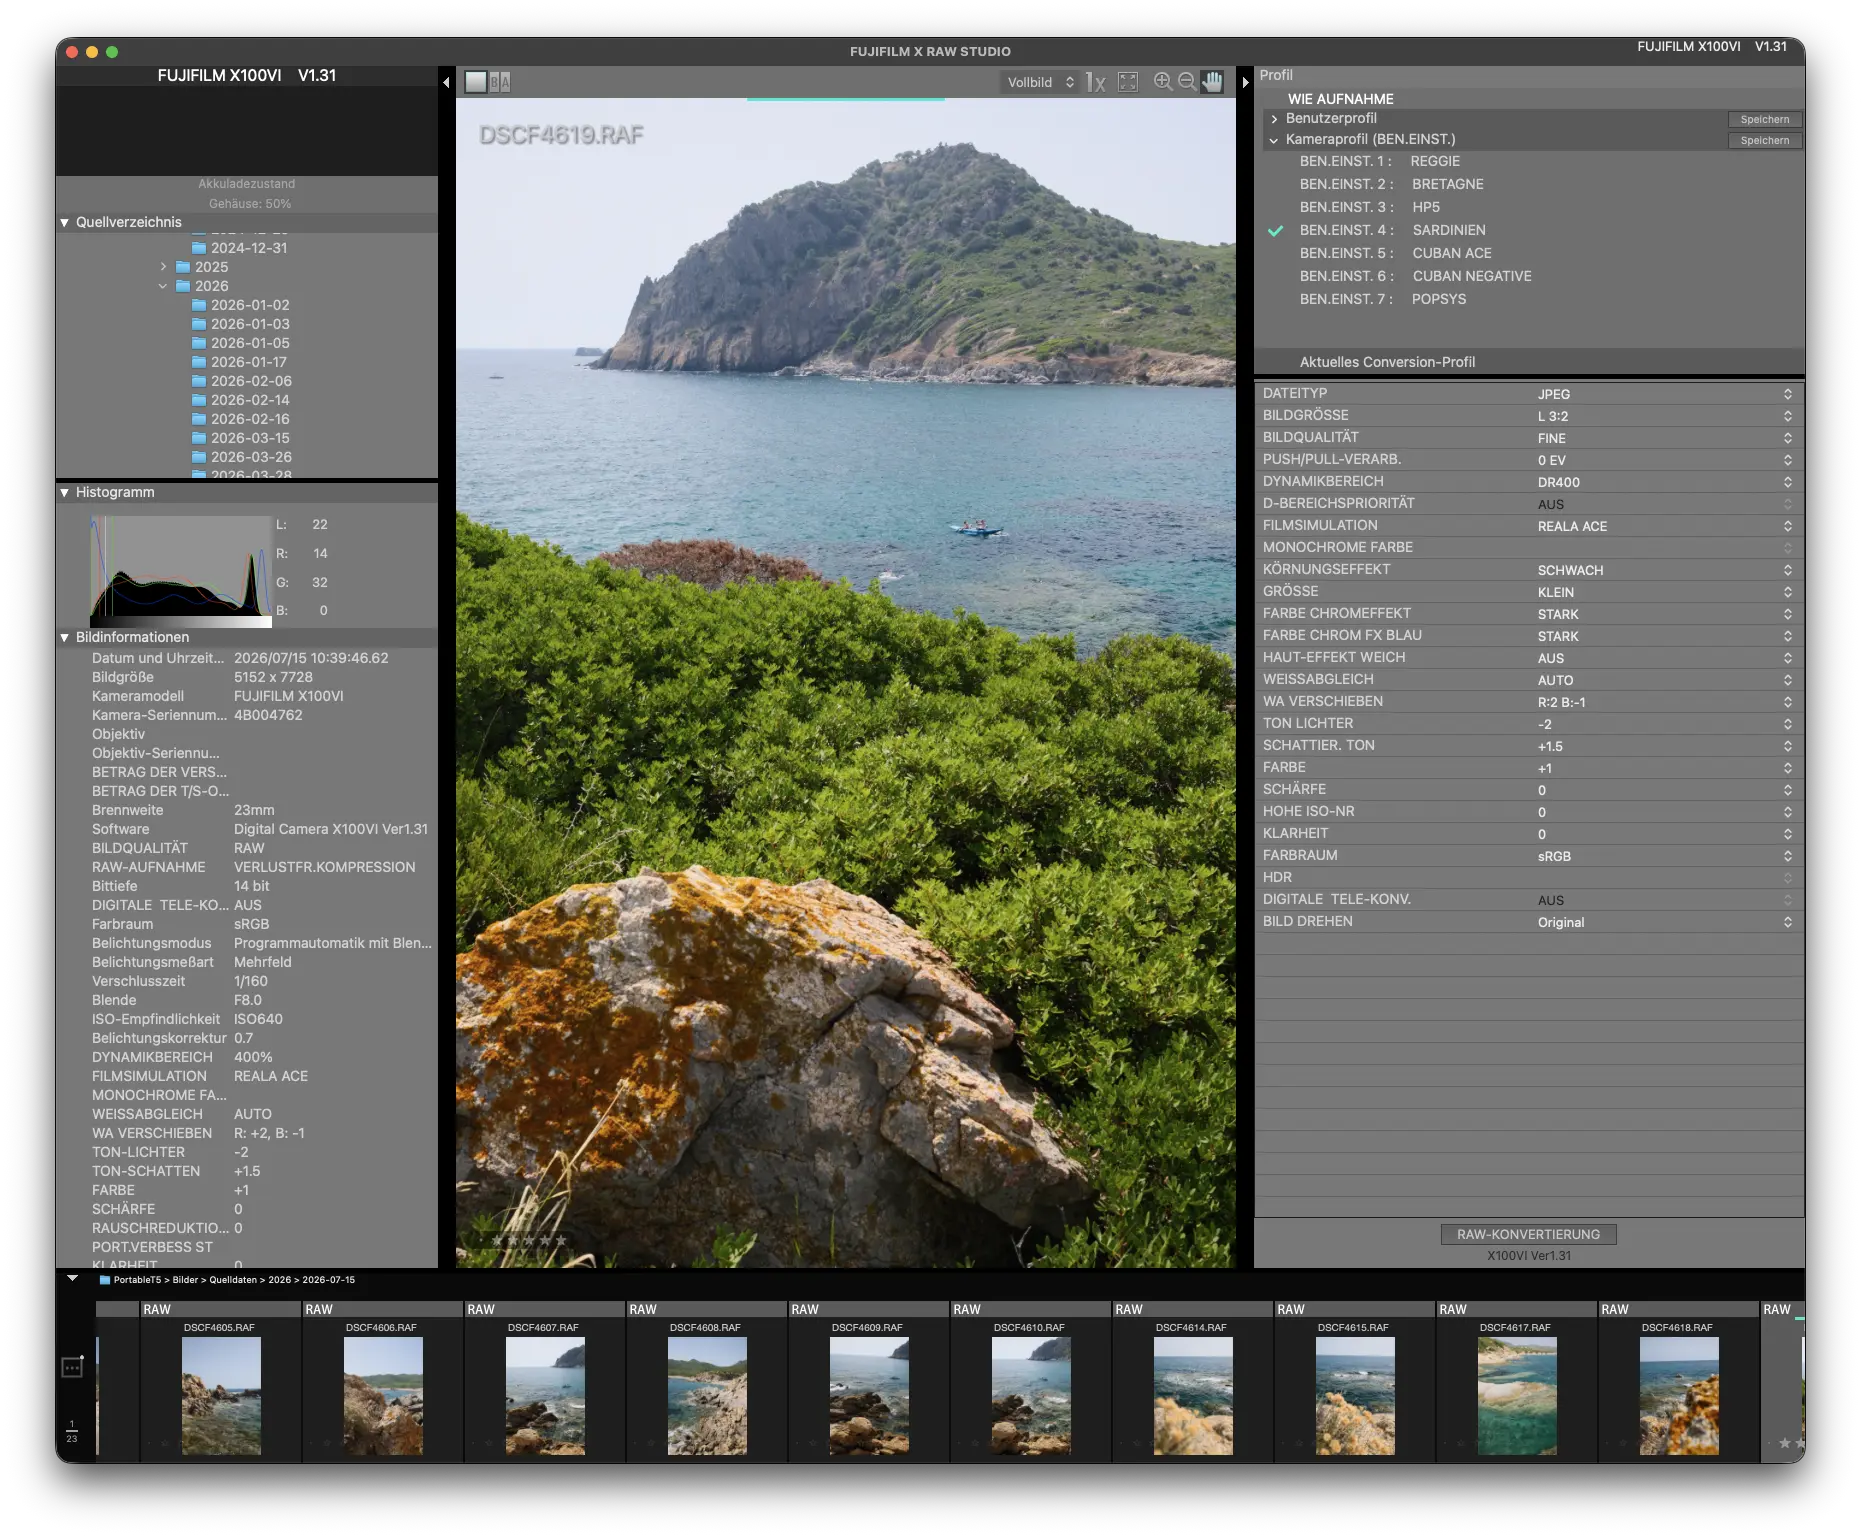
There are some technical quirks involved here that you have to take care of: Under Network/USB Settings set Connection Mode to USB RAW Conv./Backup Restore, and you need the RAW Files locally and the X100VI connected via a fast USB-C cable.
Sometimes you’ll get an error, saying that it could not be fully applied. That might be an issue with DR400 Settings, where you’re bound to at least ISO400 for it to work. Or when you switch between HEIF and JPEG for the Preset. Sidenote, after some testing i strongly recommend using HEIF for maximum details and smaller filesize. Especially when your normal workflow is involving the X App and just pushing images to your phone.
Perfect Visual Comparisons
Instagram and Tiktok are flooded with visual comparisons of presets, like Reggies Portra, CubanAce and Kodak Gold in whatever warmth flavour possible. But seeing your own pictures afterwards differs sometimes quite heavily. X RAW Studio helped me out a lot, to find my own and favorite preset.
In the end, this feels like achieving your goal by yourself, without relying on the work of someone else. Like riding a proper bike without a motor instead of going up that hill with an e-bike. Thanks James Popsys for that metaphor, it fits to so many situations. The camera still manages a lot, but let‘s keep that out of the calculation here 😬






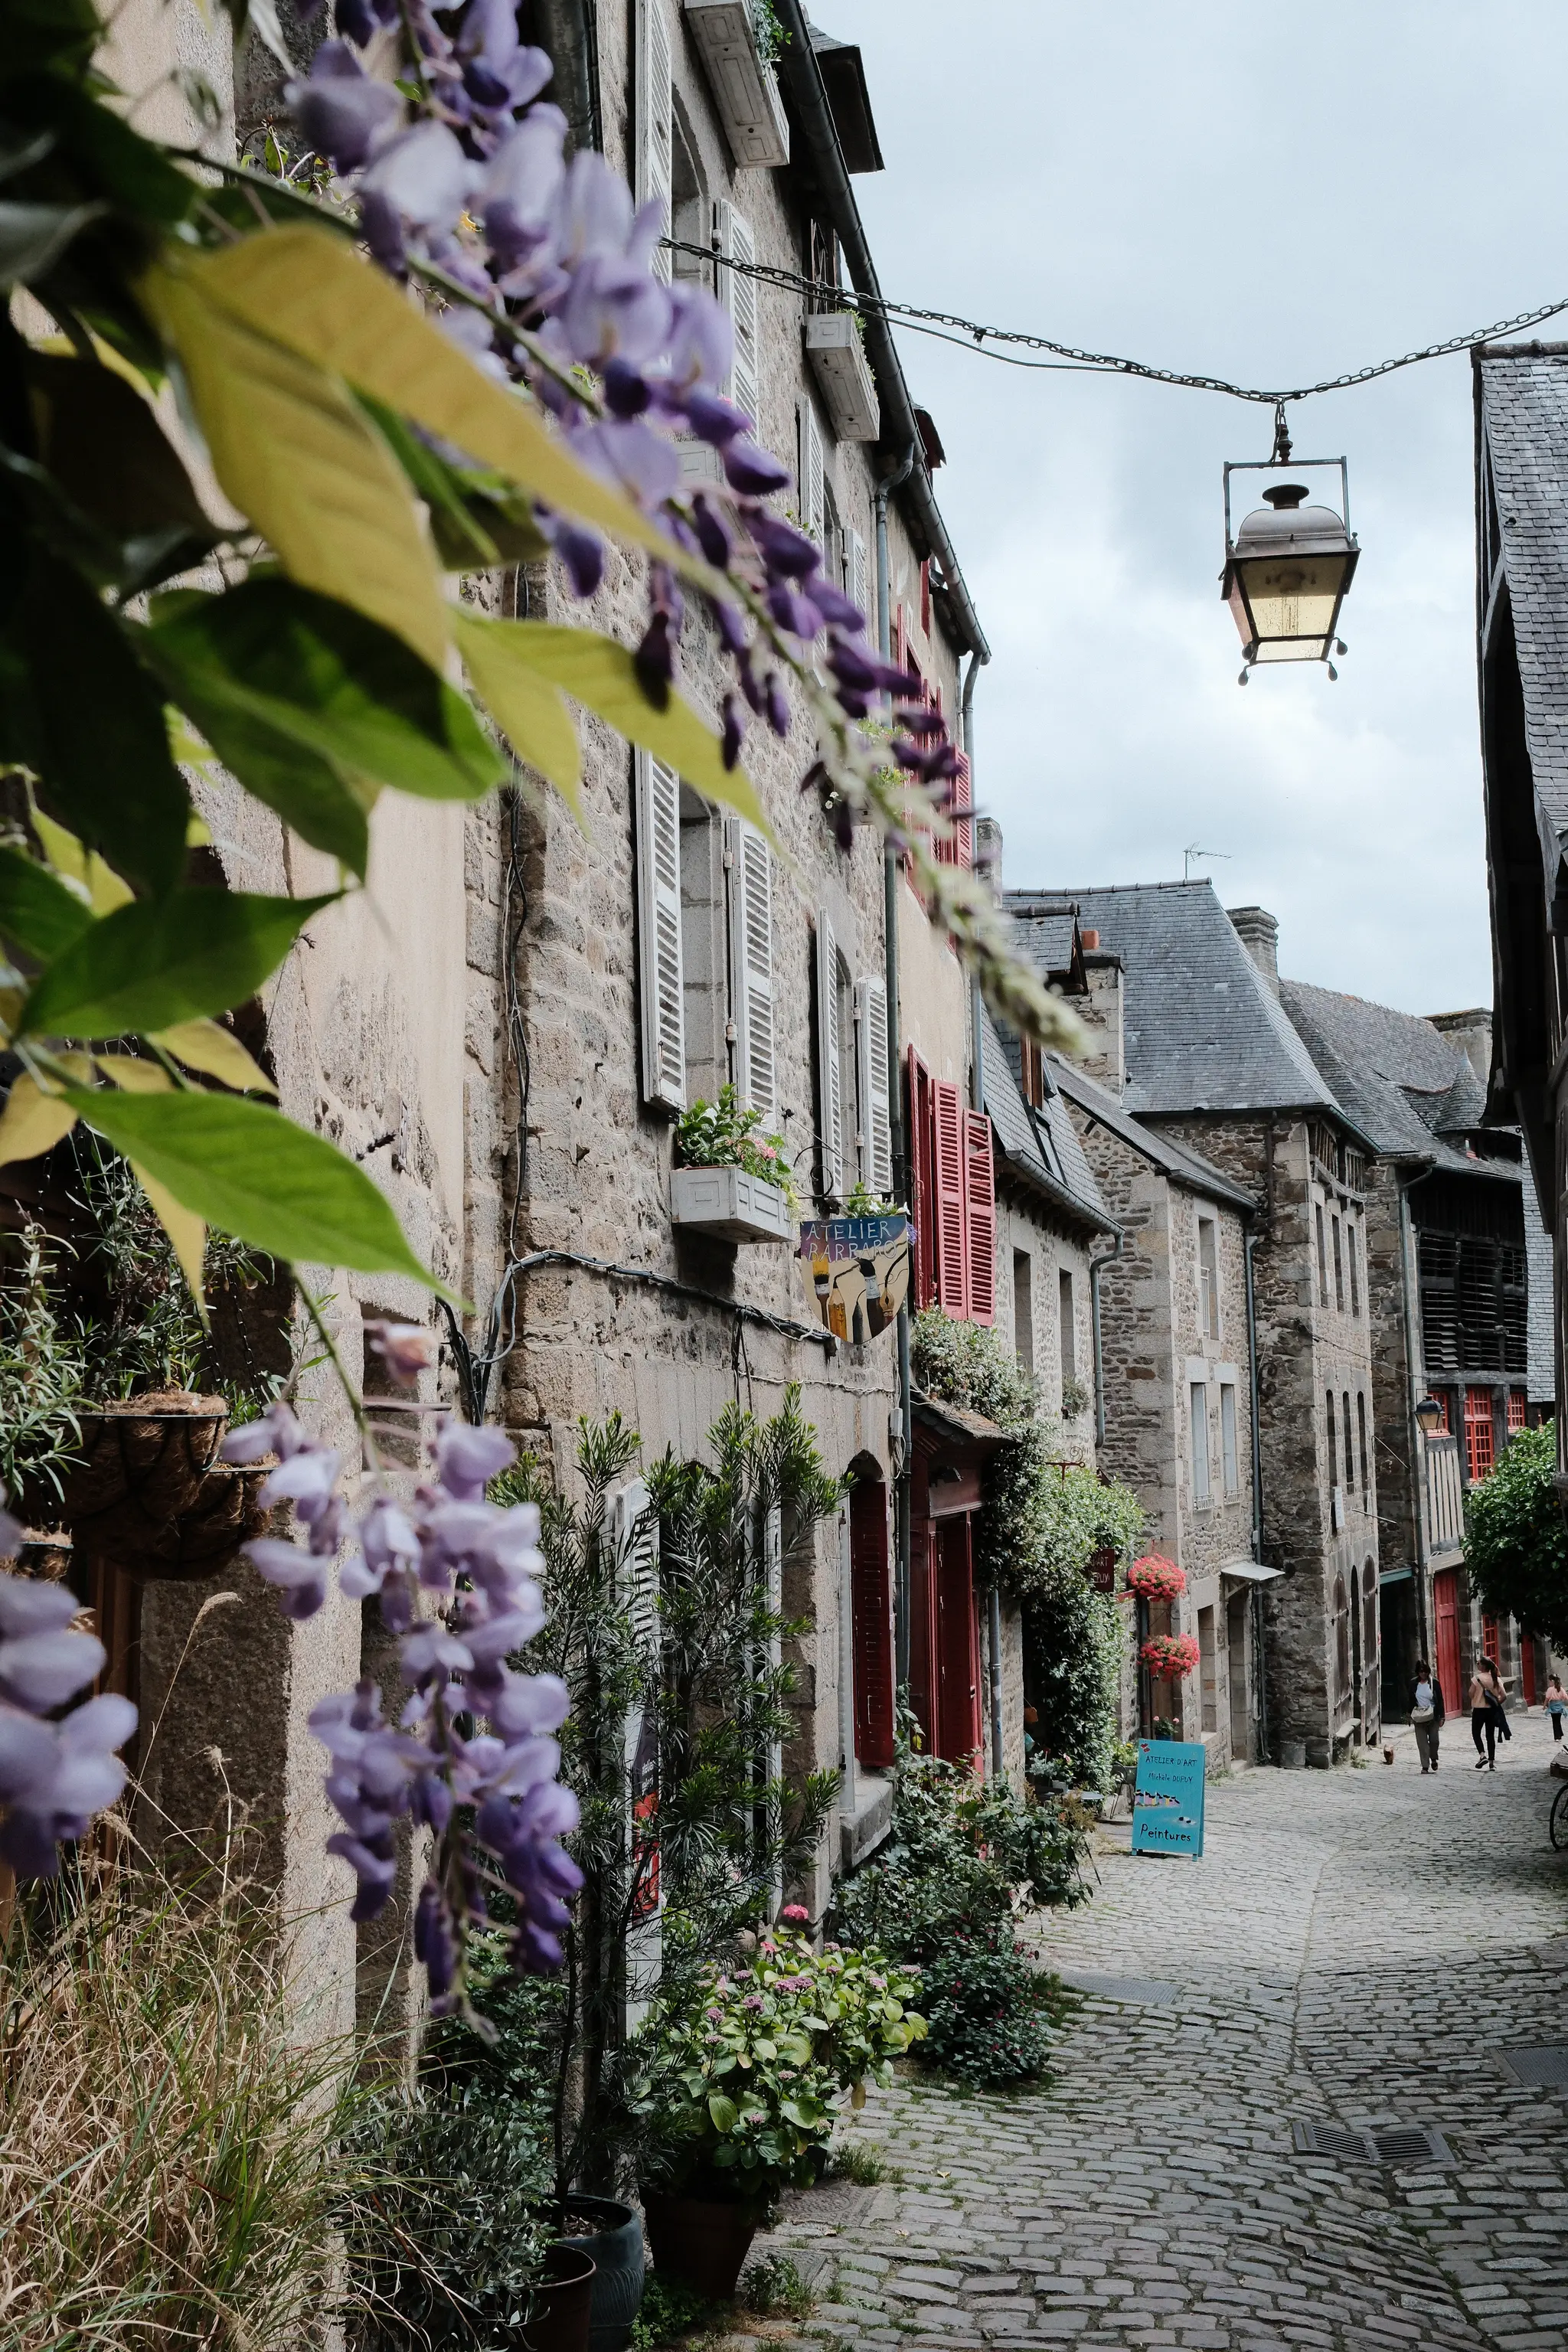

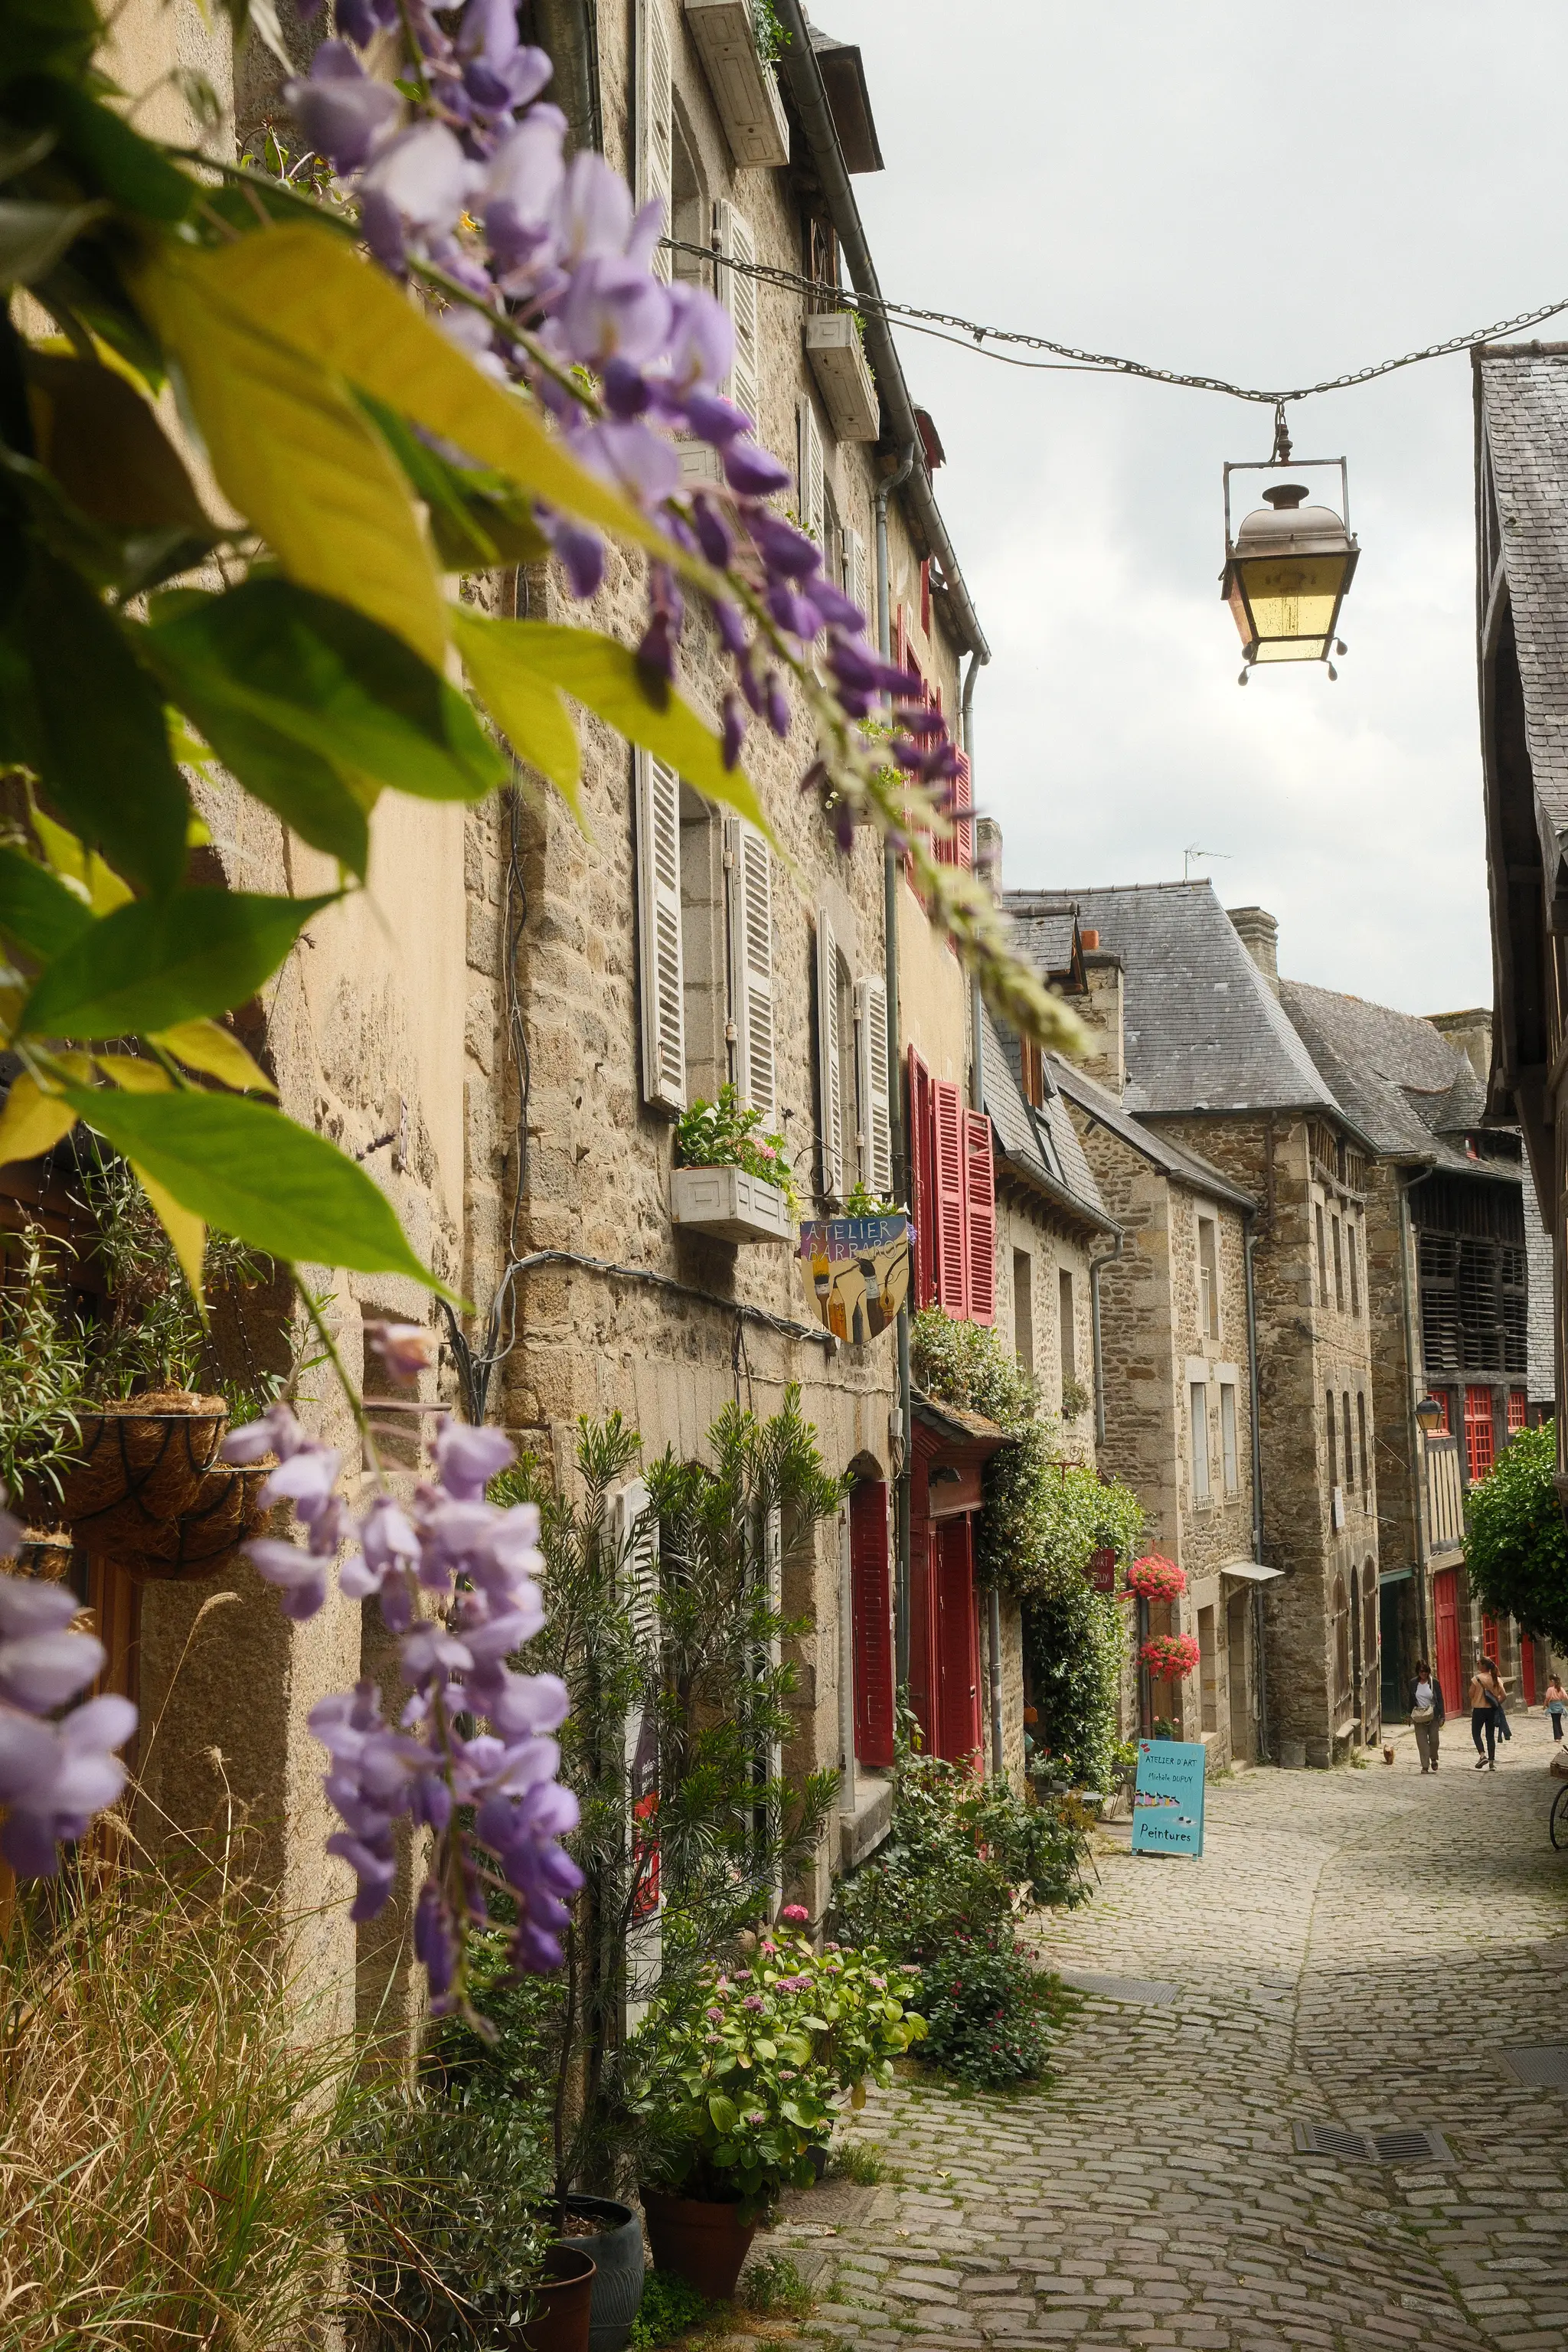
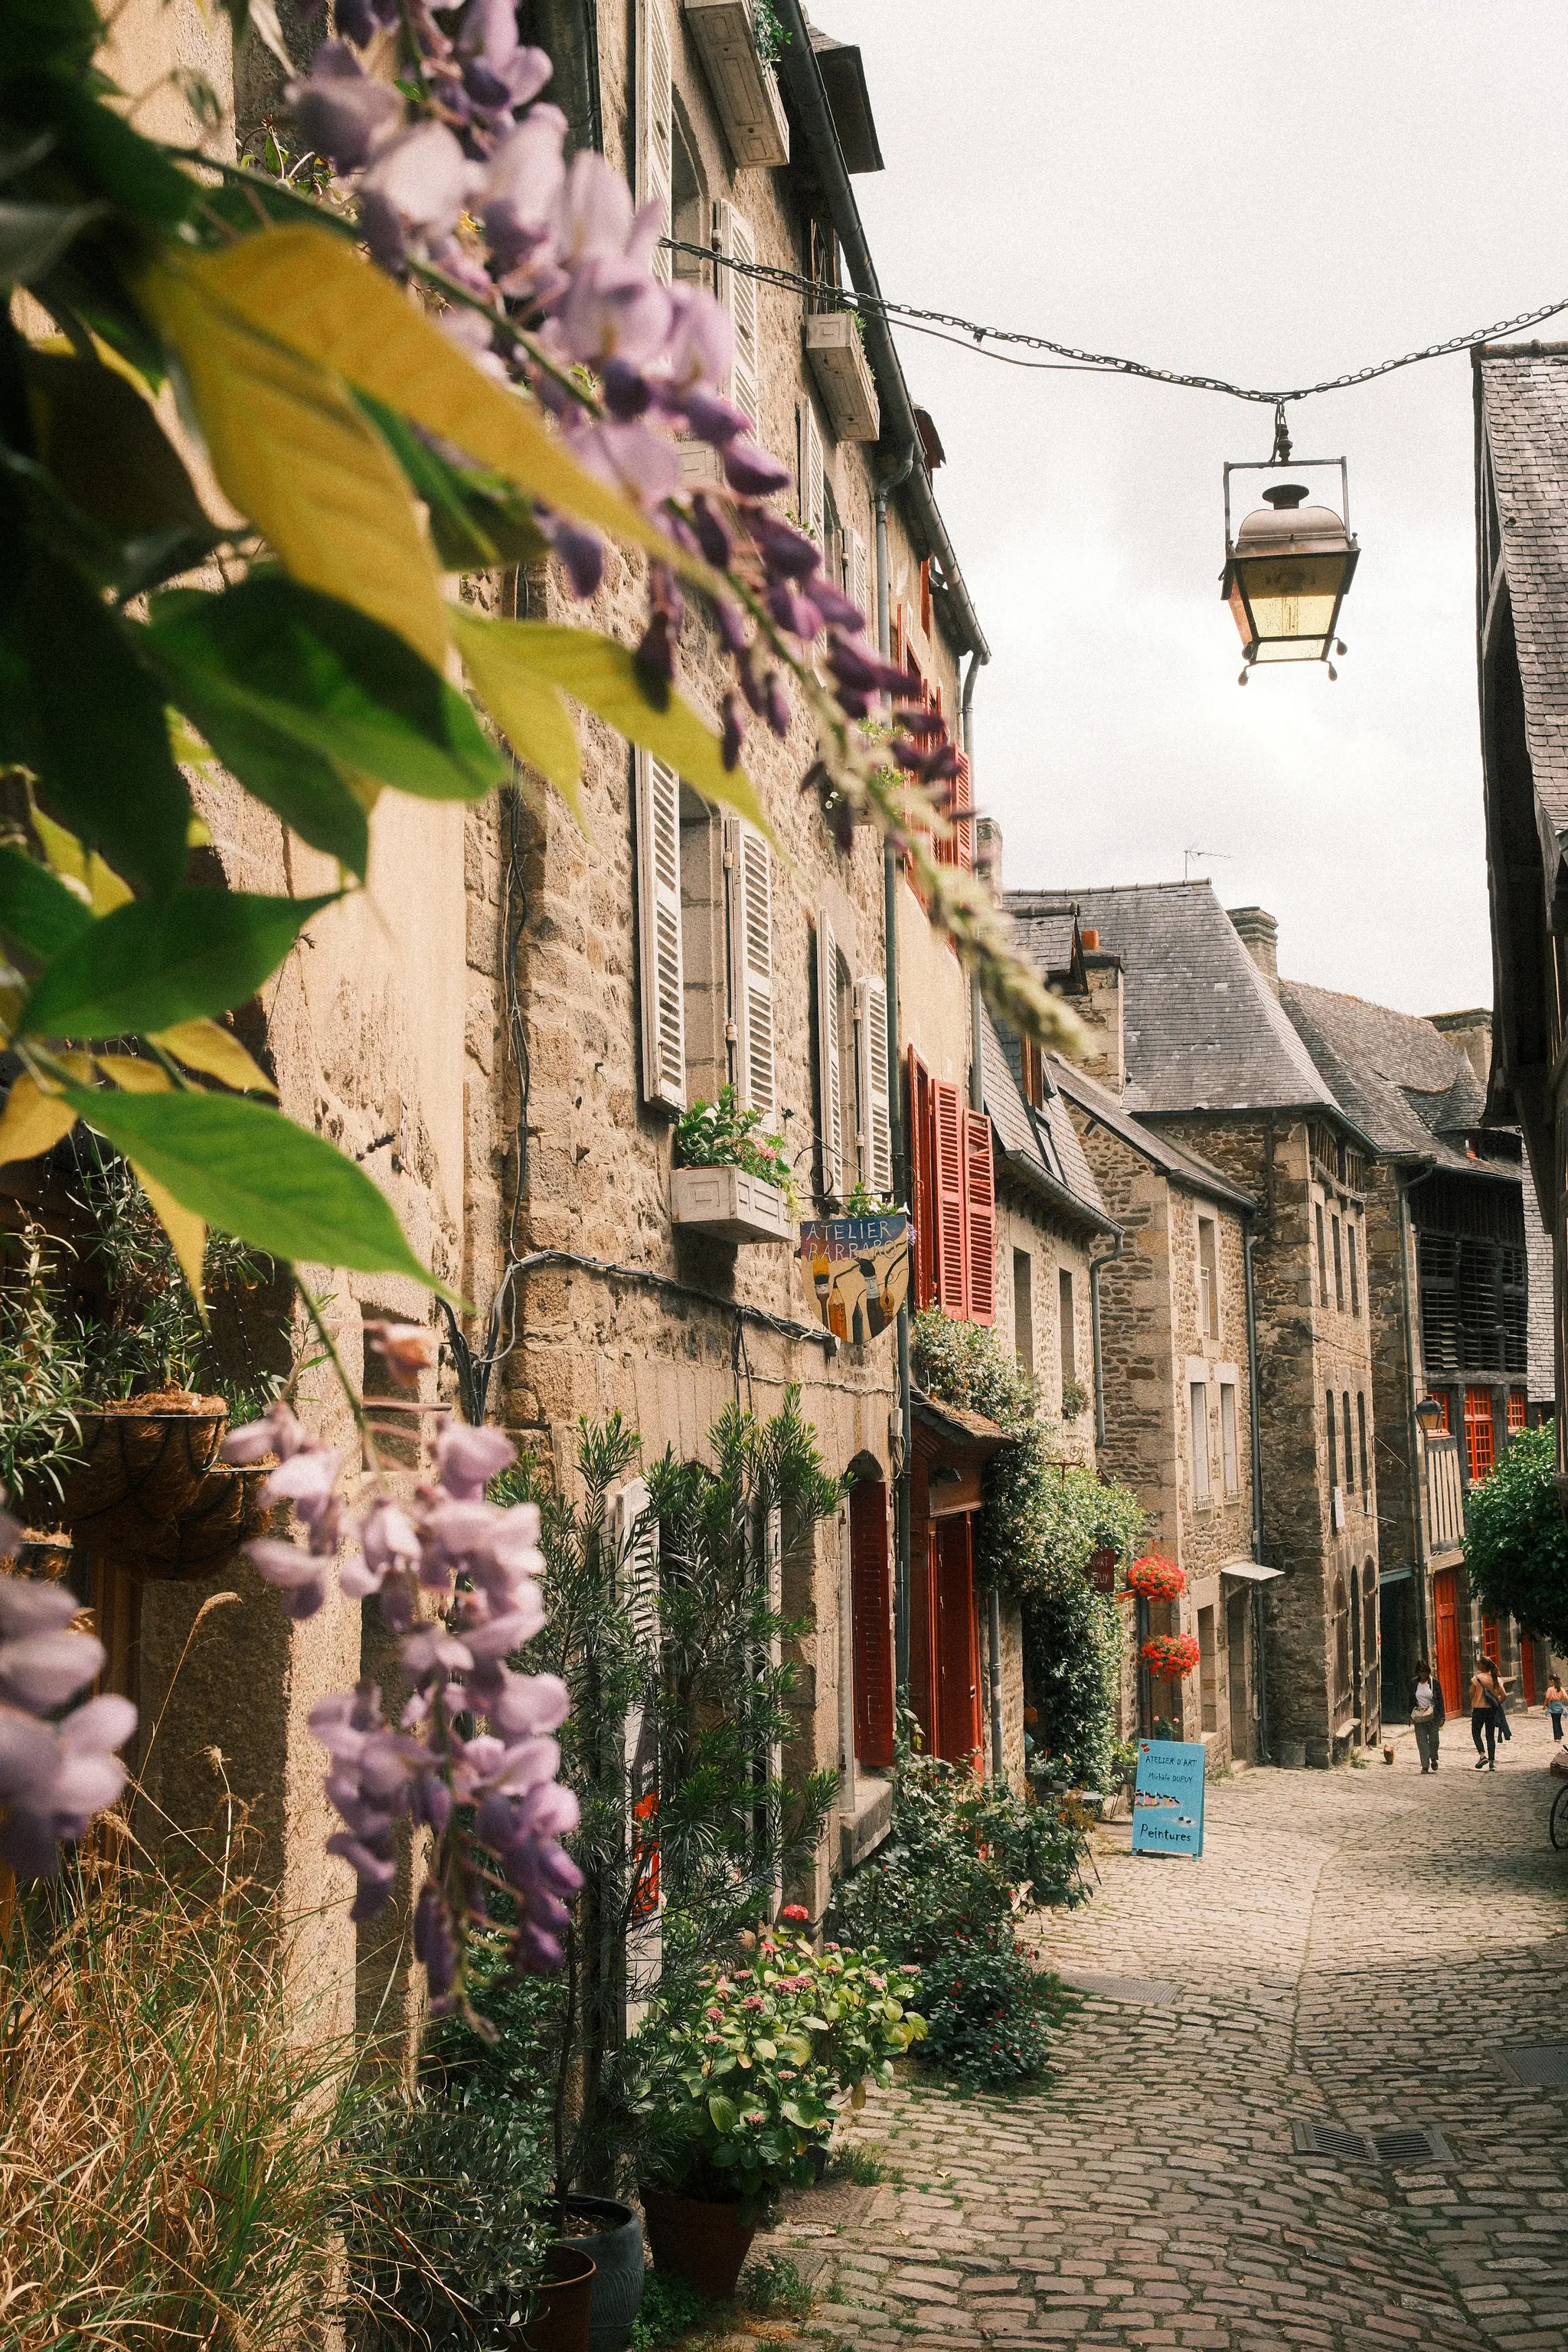
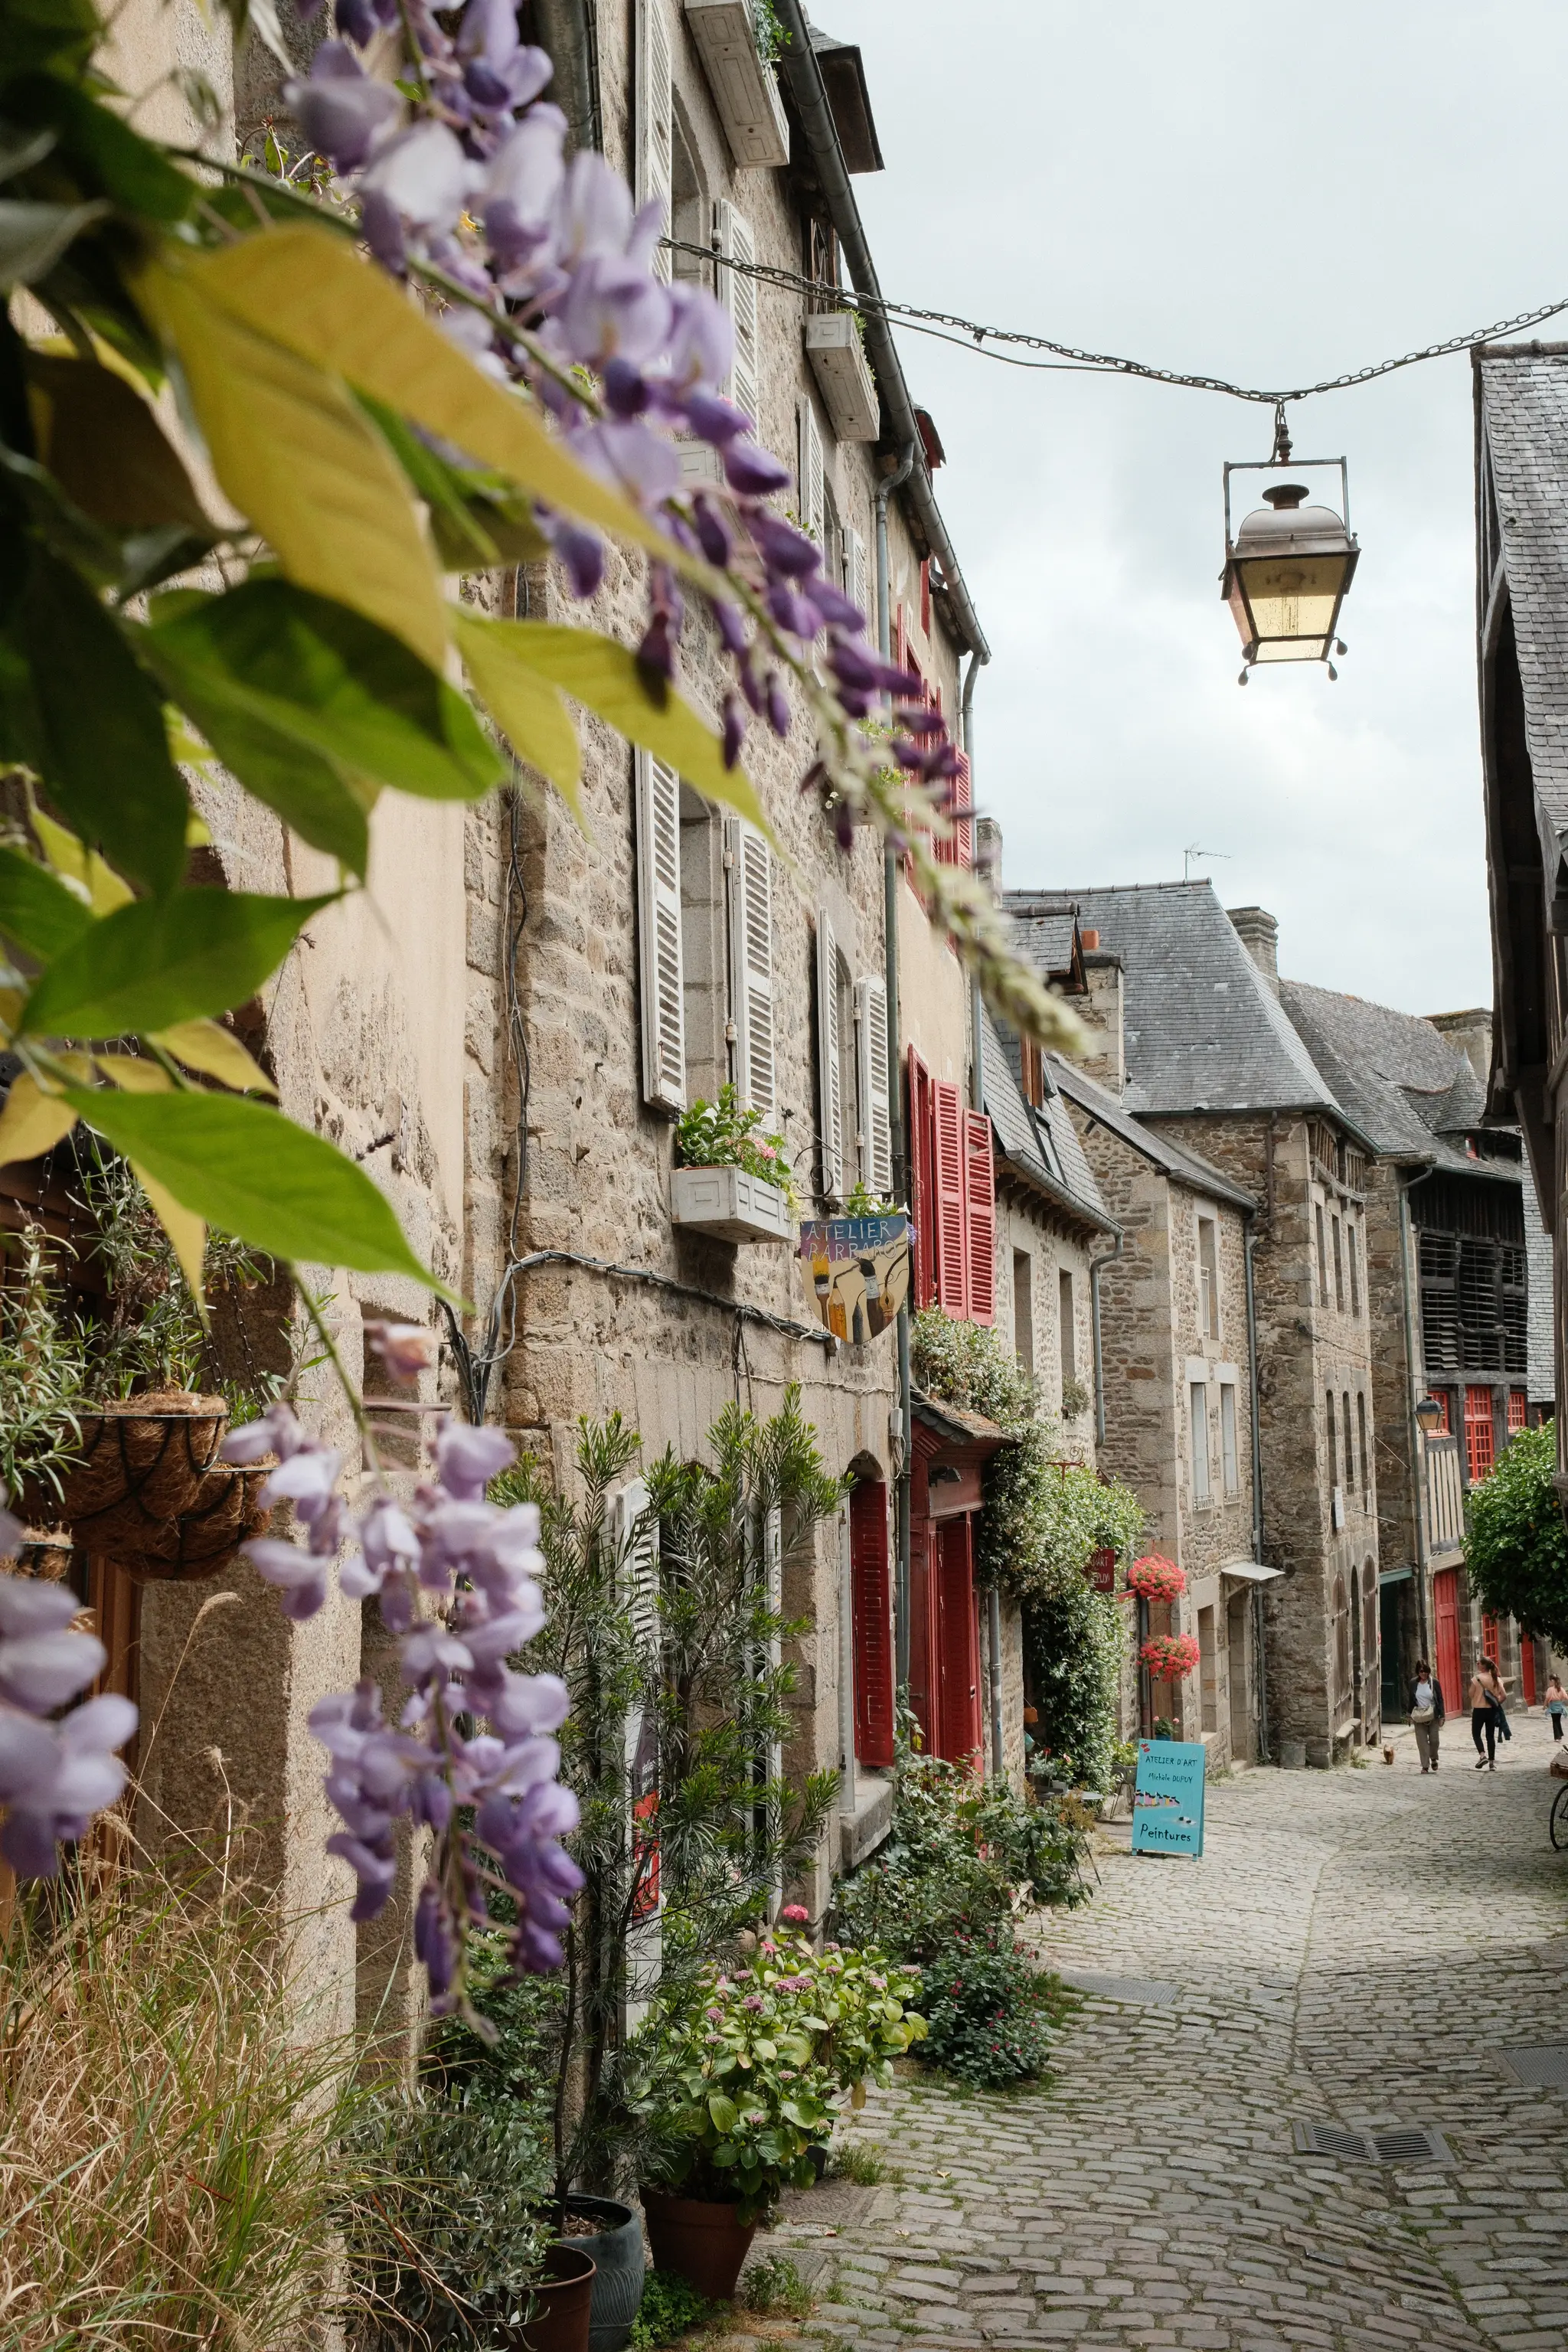

Focus on the frame, not the preset
There is no single preset that is a universal fix for every scenario. Lighting, Story and personal preference play a huge role in these decisions. Because taste can differ in a daily basis, you have the fix laying in front of you. Keep the RAW Files somewhere for future use and enjoy the moment and the presets you have. Stop forcing viral recipes onto your images and ignore the fuzz about it. Build your own aesthetic, trust your own judgment, and let the camera remain a tool rather than a distraction.
I hope i could help someone, cheers ✌️